
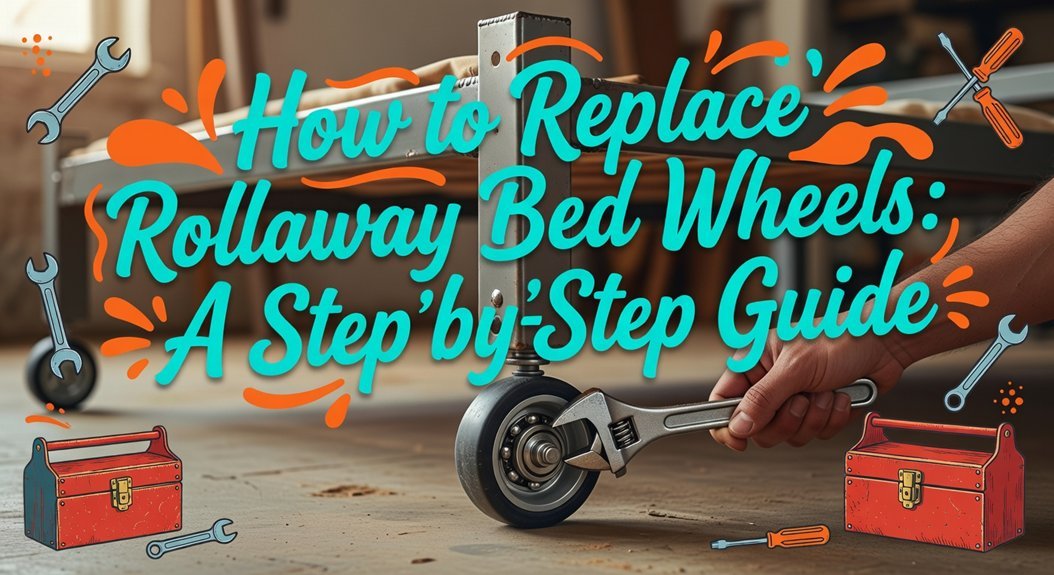
How to Replace Rollaway Bed Wheels: A Step‑by‑Step Guide
You’ve got a wobbly, grinding rollaway bed, and you’re right to tackle the wheels first. Start by locking the casters and rocking the frame to confirm the issue. Your key step is identifying the wheel type: it’s either a threaded bolt (often with a 40mm head) or a push-on stem. Order that exact match, then you can swap them out with basic tools for a smooth-gliding bed again. The real trick is in those initial details.
Inspect Your Rollaway Bed Frame and Wheels for Damage
Now, test each wheel. Spin them, checking for grinding or wobbles. Push down on the bed to see if it rocks; that often points to wheel issues. Obviously, you must also lock the casters to see if they hold. You should also assess the floor surface beneath the bed, as uneven flooring can contribute to instability. A complete damage report will allow you to diagnose whether you need a bolt-on or pop-in wheel replacement, a process similar to maintaining the overall metal or wood frame of your rollaway bed, which is just as important as evaluating the frame durability for any folding bed.
Your goal here is a complete damage report. That diagnosis decides your next move.
Get Your Tools and Order the Correct Replacement Wheels
First, gather your tools: a tape measure, pliers, a flathead screwdriver, and a wrench. Your measurement techniques are key. Check the bolt types—common sizes are 5/16 inch or 8mm threads. Now, identify your wheel. Is it a threaded bolt type with a 40mm head for a slatted frame? Or a push-on style for a non-slatted bed?
Order the exact replacement. For threaded bolts, search for a “40mm head twin caster.” For push-on, verify the new wheel has a 1/2″ metal stub. Getting this match right prevents a frustrating return. It’s similar to ensuring a smooth operation for space-saving mechanisms in more permanent fold-up beds. As with any furniture project, clearing the area and labeling hardware as you work can streamline the process. Just like building a folding bed, taking precise measurements and cuts at this stage is crucial for a stable final result. With the correct parts in hand, you’ll be ready for the physical work.
Position the Bed and Remove the Old Wheels Safely
Use tools carefully: a screwdriver can pry a stubborn caster frame. Just avoid hammering the wheel itself. For a severely rusted caster, the process may require extra effort with a pry bar and hammer whacks. Before starting any repair, it is wise to unpack and sort all components to ensure you have everything you need. Your safe setup makes this entire swap straightforward. For maximum stability, ensure your bed frame is properly anchored against a solid wall, especially if it will be used as a bunk bed. This stability is even more crucial for cabinet bed mechanisms that bear significant weight when folded or deployed.
Install and Tighten Your New Rollaway Bed Wheels
With your old wheels off, you’ll install the new ones by first matching the wheel type to your bed’s specific mounting system. This wheel type selection is vital. For threaded bolts, line them up and start threads by hand. For a push-on stem, insert it into its groove until you hear a confirming click. Now, you’ll secure everything. Secure all connections with your provided Allen wrenches and other basic tools. Tighten Allen head bolts while holding the opposite nut with your 10mm wrench. Always prioritize safety gear like gloves and eye protection during this process. If a push-in caster resists, tap it lightly with a rubber mallet—this is common attachment troubleshooting. Snug all bolts firmly with your wrench, but don’t overtighten. Your goal is a solid, flush fit without stripping threads. With each wheel secure, you’re ready for the final check.
Test the Bed’s Mobility and Stability
All right, you’ve got the new wheels on, but how do you know they’ll actually hold up when you’re using the bed? Start with a visual inspection. Check the frame for bends and verify all bolts are tight. This is as important as checking the durability of a new folding bed before purchase. Next, perform your own scenario analysis. Roll the bed forward, backward, and make sharp turns. It should move smoothly without binding. Now for capacity planning. Push down on the mattress to simulate a person. The bed mustn’t wobble or tilt. Apply lateral pressure to the frame edges; it shouldn’t rock. This tests if the wheels handle real weight and movement. It’s crucial to keep the bed and its components in a dry, cool environment to prevent future damage and ensure long-term stability. Before testing, ensure the frame is correctly folded back into its compact position for an accurate stability assessment. Finally, before the critical push-and-release test, ensure the tandem brake system is properly engaged from one side to securely lock all casters, confirming stability. If it rolls freely but stops solidly, you’ve succeeded. You now have a reliably mobile bed.
Fix Persistent Wobble, Sagging, and Stuck Mechanisms
Your installation techniques seal the deal. Tighten all bolts and fittings with a wrench until they’re snug, adhering to the manufacturer’s weight limits to prevent undue stress on the frame, and remember that exceeding the specified load capacity can lead to joint failure. For wobble, tap loose ferrules back with a rubber mallet or insert a plastic bushing into a worn socket, and consider reinforcing the structure with metal brackets for long-term stability. If a mechanism sticks, gently pry the old wheel out and lightly lubricate the new stem before pushing it in. Use a flat screwdriver to carefully pry a stuck wheel from its housing. Test each wheel for smooth movement.