How to Take Apart a Bunk Bed Step by Step
You’ve come to the right place if you’re staring at that bunk bed wondering where to even start. Don’t worry—you basically reverse the assembly. First, clear everything off, pad the floor, and grab your screwdriver and a helper. Start by removing the mattress, guardrails, and ladder from the top bunk. Then, carefully detach the top frame from the bottom one. Doing this step-by-step protects your bed and your sanity, and there’s a clear system for the tricky parts ahead.
Prepare Your Space and Tools for Disassembly
Now, workspace hazard identification is key. Position the bed away from walls so you can move freely. Lay down padding for wooden parts to prevent floor scratches. You must also gather your tools—a screwdriver set, adjustable wrench, and hex keys are essential. Always verify the frame construction and hardware type before you begin, as these determine how the bed comes apart, just as knowing the sequence helped during the original assembly.
Here’s the thing: following tool safety guidelines protects you. Wear gloves and glasses, and never force a stuck component. Enlist a helper for stability. Your takeaway? A prepared space prevents damage and injury, setting you up for a smooth disassembly. Ready to tackle the first bolts?

【PREMIUM MATERIAL】 Heat-treated steel with black-oxide finish, featuring 15 long reach keys and 15 high leverage short keys for durability and strength. 【HIGH...
Step-by-Step Top Bunk Dismantling
Ready to dismantle the top bunk? First, you’ll remove the mattress and bedding. Now, detach the guardrails. Locate their screws or bolts and unscrew them completely. Bag this hardware separately. Next, address the ladder. Find its attachment points and remove all screws, setting the ladder aside. Don’t mix its hardware with the rail screws—labeled bags prevent confusion later. When dealing with the bed’s hardware, inspect any wall anchor hardware for wear before safely discarding it.
Here’s the thing: you’ll need a helper. The top bunk connects to the bottom with braces or pins. Unscrew these connections, then carefully lift the entire top bunk frame off. Set it on a flat surface. Before taking the frame apart further, ensure you have cleared a safe disassembly area to work without tripping hazards. With your partner, you will then need to lift both sides of the separated top bunk frame to move it safely.
Finally, disassemble this top frame. Start with the slats, then the cross beams. Note each post placement as you remove it for easier reassembly. Obvious frame labeling now saves massive headache later. This methodical approach breaks a big job into clear, safe steps. A sturdy bunk bed build starts with selecting the appropriate lumber and hardware for long-term stability.
Removing the Bottom Bunk Frame
Now that your top bunk is down, you’ll want to get the bottom frame cleared, too.
How Do You Start With the Bottom Frame?
First, clear everything off. You’ll need your screwdriver or Allen wrench. Loosen every fastener you see around the frame’s perimeter, but don’t take them all the way out yet. This keeps things stable. Obviously, check for any ladder attachments here, too. During disassembly, remember to save all removed parts for potential future reassembly to maintain resale value.
What’s the Safest Way to Pull It Apart?
Once everything’s loose, you can fully remove the hardware. Now, carefully pull the frame sections apart. Have a helper for this part—it prevents safety hazards from a heavy, awkward lift. This is especially important if the bed is older, as its safe load limits can be lower. As you separate pieces, inspect the wood for any signs of wood rot, which weakens the structure. You should also look for signs of exceeding weight limits over time, which can strain the frame and hardware. This is a good time to verify that all guardrail placement will meet safety standards if you plan to reassemble the bed.
You’ve now got a fully disassembled bed frame, ready for your next move.

Exquisite Material: The hardware replacement kit is made of high-quality carbon steel, color zinc, which has high hardness, corrosion resistance, rust resistance, not easy to be damaged or broken, strong and durable.
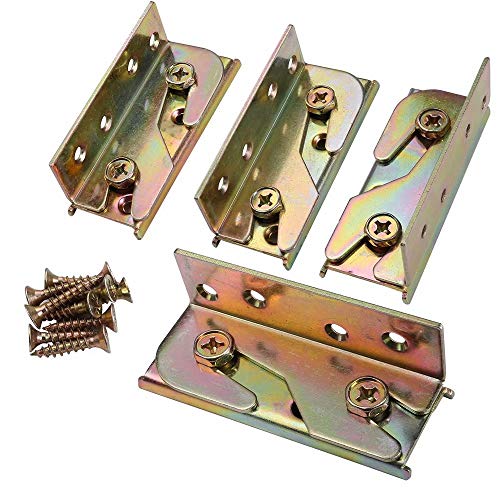
PURPOSE: Be widely used for wooden bed frames, bed rails, headboards, footboards, bunk bed ladders, and even other wooden furniture. These are also great for those of you who might move a lot and need a quick/ easy disassembly
Moving and Storing Your Disassembled Bed
All right, you’ve got the frame in pieces, so you’re probably wondering how to keep everything organized and safe until it’s time to rebuild. First, focus on storage conditions: keep components in a dry, stable-temperature area away from damp basements that can warp wood. For transport strategies, load long frame pieces at the truck’s back, using other boxes to prevent shifting. Obviously, you’ll wrap delicate parts in blankets to avoid scratches. Keep all bolts in labeled bags, stored separately from the frame. Before packing, you might also inspect all hardware and structural joints to identify any worn parts that need replacement. Secure everything with straps during transit. Your goal is moving these pieces without losing hardware or damaging finishes, ensuring a straightforward reassembly later. Now, store everything logically so you can find parts instantly. When reassembling later, it’s helpful to consider the original mattress compatibility to ensure all components fit properly, and you should reconfirm university policy before setting it up again.
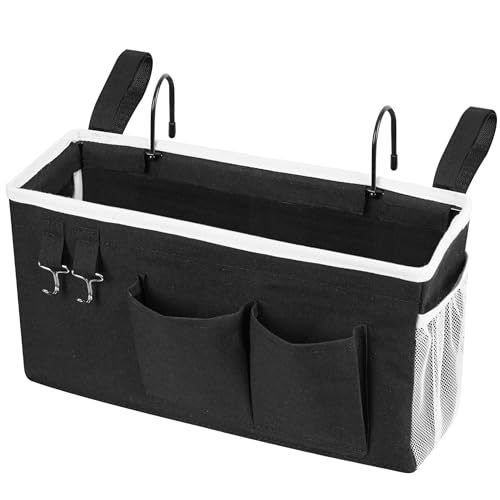
Quality Material: The dorm essentials bed caddy is made of canvas and iron, make it strong and sturdy. The bedside storage caddy has 1 large pocket, 2 small pockets, 2 small mesh pockets and 2 hooks. You can storage your everything you want on bed and easy for you use.

GOOD QUALITY – Made of 600D Waterproof Oxford Fabric with reinforced stitching, easily attaches to bed rail using three adjustable heavy duty velcro straps, keep the bedside caddy securely in place, durable enough to withstand heavy weight. Easy to use, no assembly required.
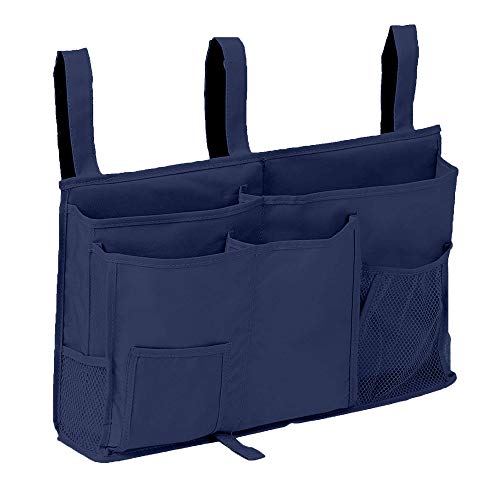
MULTI-PURPOSE - This bunk bed organizer equipped with 8 various pockets, you can hang on the bedside to storage books, magazines, notebooks, pens, and some snacks and drinks. Save the limited amount of space in dorm rooms and decreases the clutter. You can also to put your remotes, phones, & tablets and flashlight in the bed storage caddy when you get up at night, you can find these items easily. It is also great for hang on the baby stroller or baby bed to organizer the items that baby need.
Pro Tips for Reassembly Success
Since you’re staring at a pile of disassembled parts, you’re probably thinking, “Okay, how do I actually put this back together without missing a step?” Here’s the thing: success hinges entirely on your prep work before you even pick up a tool.
Start with thorough inventory organization. Group all parts by bunk section. Count every slat and bolt against the manual. This prevents mid-assembly panic. Before grouping, identify all wooden parts by their part number stickers to match the manual’s illustrations. Proper organization is as fundamental to this reassembly project as it is during the initial reinforcing the support beams of a DIY build.
Your tool preparation is next. Cross-check required tools from the instructions. Now, clear a 10×10 foot space. You’ll need every inch. A proper workspace is as critical for this project as it is when working on a DIY Murphy bed kit.
Assemble the bottom bunk first. Loosen lag bolts by running them in and out first—this prevents wood splitting. Tighten everything only after the full frame is square. This step is especially crucial when reassembling a full‑over‑full model, as its larger frame requires extra care to remain square and stable.
Finally, test everything. Shake the bed firmly, check the safety rail, and verify the ladder is solid. Your takeaway: methodical prep beats rushing every time.