
How to Take Apart a Murphy Bed
You’re tackling a big project, but I’ve got you covered. You’ll obviously need a helper and basic tools like a drill, wrench, and flathead screwdriver. Start by clearing space and removing the mattress to relieve pressure. With your helper, slowly unscrew the frame from the cabinet, then carefully disconnect the two hydraulic pistons. Label every part you remove; that step is your secret weapon for a smooth rebuild later.
Prepare Your Space and Tools for Murphy Bed Disassembly
You’re probably wondering where to even start, right? First, nail your workspace layout. You’ll need at least three feet of clearance on every side for maneuvering parts. Move furniture, lay down blankets to protect your floor, and clear all tripping hazards. Next, your tool selection is critical. Gather Phillips and flat-head screwdrivers, an adjustable wrench, and Allen keys. You’ll want a cordless drill for efficiency and a hammer for stubborn bits. Don’t skimp on safety either—wear goggles and gloves. Take photos before you touch anything and label every screw. This prep prevents chaos later. Keep in mind the original installation likely required wall reinforcement for safety. Begin by locating and disconnecting the pivoting mechanism and lifting hardware. Your clear, tool-ready space sets the stage for a controlled disassembly. Now you’re ready to safely address the bed itself. Before lowering the bed, remove the crown molding and wall screws to detach it from the wall structure. As with dismantling a bunk bed, systematically detach all protective railings before handling the main framework.

𝐂𝐎𝐌𝐏𝐋𝐄𝐓𝐄 𝐌𝐔𝐑𝐏𝐇𝐘 𝐁𝐄𝐃 𝐇𝐀𝐑𝐃𝐖𝐀𝐑𝐄 𝐒𝐘𝐒𝐓𝐄𝐌 — WHAT’S IN THE KIT — Includes gas piston lift system (smooth open/close rated for daily use), patented 2-in-1 auto-locking stainless steel pivot plates, heavy-duty square tube folding legs, quick-release mattress retention strap, all mounting hardware and fasteners, plus 3 fully illustrated guidebooks (Cut List Guide, Construction Guide, Assembly Handbook). No separate hardware store runs needed for the mechanical components.

🛏️【Complete Full-Vertical Murphy Bed Kit】Finished size reference: 82 -1/8 in H x 59- 7/8 in W x 15-7/8 in Deep (closed) x 83 in D (open).A complete Murphy bed full size hardware kit can easily mount your cabinet folding bed on the wall and save space for your guest room & living room.
Safely Secure and Detach the Mattress and Bed Frame
Some people worry removing the mattress first makes the bed unstable, but that’s the whole point—it’s the safest first step. You’ll relieve pressure on the mechanism. Begin by securing the bed down, using three L-brackets into wall studs for safety. Now, for the mattress handling: clear all bedding and detach any straps. You’ll need a helper to firmly hold the front panel down while you pull the mattress free. This important step lightens the whole structure.
Next, support the bed frame itself. Locate and slowly unscrew the bolts securing it to the cabinet while your helper counters any movement. Once bolts are out, carefully tip the front panel up and lift it from its slots—it’s very heavy. This controlled approach helps avoid the pinch point hazards inherent in the moving mechanisms. You’re now ready to address the frame components, mindful of the stored spring tension in the arms. Before working with the lifting mechanism, refer to the original installation guide to understand its specific hardware components. Periodically inspect the anchors to ensure the wall brackets remain stable over time after reassembly.

✓ HIGH-QUALITY METAL MATERIALS: Our shelf support is made of thick and heavy duty iron materials.Features a thick black matte surface coating that delivers enhanced water resistance and effective anti‑rust performance for long‑term daily use.

High-quality steel shelf bracket with durable baked paint finish. Resistant to rust and featuring a smooth surface. Built to last.

【Suitable For 2*4” Wood Studs】Goovilla hidden shelf brackets is desiged with a 1.57*1.38” backplane. The small size and 3 close together screw holes match the narrow 2×4 inch (actual size is 1.5*3.5” ) wood studs thoroughly.
Disconnect the Piston and Cylinder System
Since you’re wondering how to tackle the hydraulic pistons, that’s actually the key to making the bed frame manageable and safe to remove. Now, you’ll need a helper to pull the bed out slightly. First, pry back the retaining clip on each piston’s upper fitting with a flathead screwdriver. Pull the piston off its ball stud; your helper adjusts the frame for alignment. Repeat for both pistons.
Here’s the thing: always maintain a firm grip on the frame. This prevents a sudden collapse. Once disconnected, you can slowly lower the heavy frame to the floor with assistance. Now you can address the lower piston connections. The piston body label arrow must point upward toward the cabinet top when reinstalling.
Finally, examine these components. You might consider future piston lubrication or full cylinder rebuilding if they’re worn. This foresight prevents future trouble. When reinstalling, ensure your wall stud placement is correct to handle the mechanism’s weight safely. The piston system is part of a sophisticated spring or piston counterbalance that makes the bed easy to lift and lower. This counterbalance mechanism is essential for the vertical pivot that allows the bed to fold away neatly. Next, you’ll be ready to detach that heavy frame.

★ EASY REMOVAL & INSTALLATION – We invented the first cylinder replacement kit with a purpose-built removal tool in 2016. No more struggling for hours with tools you don’t have. Since then, our kits have helped fix 120,000+ office chairs, backed by the original American family business that guides you through every step.
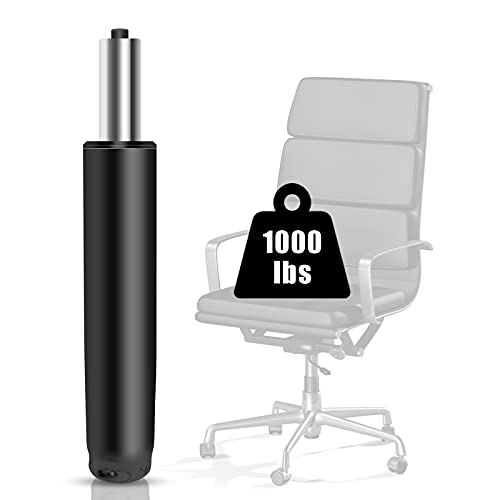
HEAVY DUTY CLASS 4 PISTON: lift cylinder, which has passed over 100,000 times of rotation/push/pull/impact test, with no loss of usability function after the experiment,they built with high-quality solid steel that can support maximum weight up to 1000 LBS.

Only suitable for Shimano MT420 MT520 M640 M6120 M7120 M810 M820 M8020 M8120 M9120, not applicable to other than these models
Detach the Heavy Metal Bed Frame From the Cabinet
Once those pistons are disconnected, tackling the heavy frame feels intimidating, but it’s really about methodical disassembly. Now you’ll detach the frame. With a helper, pull the bed open slightly to recess the frame into the cabinet. Slowly lower it to the floor, bracing a foot against the side for leverage. Here’s the thing: load capacity considerations are pivotal here, as the metal frame is extremely heavy. Slide the frame forward out of its cabinet slots once it’s down. You’ll then unscrew the lower header board from the cabinet sides. This process was a solo effort characterized as destruction versus assembly. For future builds, explore frame material alternatives like aluminum for lighter weight, and always adhere to recommended weight limits for structural safety. For a sturdy DIY alternative, consider building a bunk-bed ladder using evenly spaced rungs and secure fasteners. Your takeaway: stabilize, lower with control, and unbolt methodically. Next, you’ll handle the cabinet facade. This heavy disassembly underscores why a king‑size Murphy bed requires reinforced walls and ceiling clearance, as detailed in specifications for these large units.
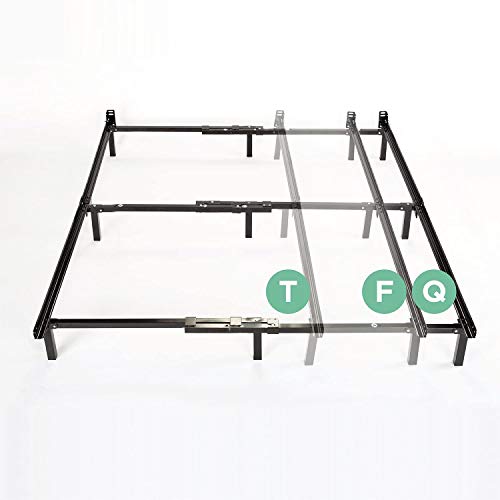
RELIABLE SUPPORT FOR YOUR BOX SPRING & MATTRESS - This Compack bed frame provides steadfast support for your box spring and mattress, thanks to its solid steel construction, multiple legs, and center support beam built to last for years

STURDY SUPPORT: This queen bed frame, with no box spring needed, provides a noise-free, supportive foundation. The queen size platform bed frame allows your mattress to stay in place comfortably

【Queen-Size Bunkie Board with Military-Grade Support】 Engineered for 60"x80" queen beds, our Bunkie Board queen delivers full-edge support with 500lbs capacity. Specially designed slats system eliminates mattress sag on sofa beds, trundles, and metal frames. Heavy-duty cross-braced construction outperforms standard slats by 2.5x.
Remove the Murphy Bed Facades and Stop Molding
You’re wondering how to get those front panels off without wrecking everything—smart move, because this is where a careful touch really pays off. For safety and to verify the bed is empty, it’s critical to first check the load capacity per the manufacturer’s specifications before starting any disassembly.
Your first priority is molding preservation. Remove all exterior casing and trim from the top surfaces first with a Phillips screwdriver. Store these pieces organizedly; it prevents finish damage and makes reassembly possible. Always document your process with photos to reference later, similar to the method used when separating bunk bed frames.
Now loosen the cam housings on the stringer boards. You must extract every fastener completely before separating the facade panels. Get a helper to stabilize them during this step. You systematically remove all support boards from the bed back. That careful extraction prevents structural damage. Once your bed is disassembled, efficiently storing its linens requires a specific folding technique for compact spaces.
Your takeaway: methodical removal protects the components. Next, you’ll safely take down the cabinet and header from the wall.

STRENGTH AND DURABILITY: Made of heat-treated alloy steel

STRENGTH AND DURABILITY: Made of heat-treated alloy steel

3-Piece Offset Screwdriver Set - Includes 3 right angle screwdrivers in Phillips and flat head designs, perfect for reaching tight spaces and hard-to-reach areas.
Safely Take Down the Cabinet and Header From the Wall
Once all fasteners are free, coordinate a gentle, outward pull. Lift it straight away from the wall together and lower it flat onto padded blankets. That controlled teamwork gets it down safely. Proper planning and following a detailed guide from the installation process will help ensure each step is clear. Before further breakdown, you should label all parts for easier reassembly later. Properly handling the bed mechanism now will help avoid future repair costs. For the next breakdown steps, consult your original design plans or building guide. Next, you’ll want to organize all those parts.
Label and Organize Parts for Easy Reassembly
It’s smart to feel overwhelmed staring at all those pieces—labeling them properly is your key to a frustration-free rebuild. Start with Diagram Referencing; page 8 of your guide is your map. Use painter’s tape or sticky labels on non-visible surfaces to mark parts like sides F or top GE, copying letter codes directly. Label all cut parts as specified in your cutting guide to ensure accurate tracking. Just as in the DIY Folding Bed Guide, clear labeling of components like plywood panels is essential for a smooth assembly process. Following a measured plan, like the initial steps in a DIY Bunk Bed Guide, ensures all components are correctly identified from the start.
Now, organize as you disassemble. Group cabinet sections together and note mating surfaces. For Hardware Categorization, bag all lag bolts, washers, and eye bolts separately by type. Mark their original positions.
This systematic approach prevents confusion later. Your next focus is protecting these labeled components during storage before you reassemble.
Essential Safety Tips for Murphy Bed Disassembly
Safety is the obvious priority when taking apart a Murphy bed, so let’s get straight into how you do this without hurting yourself or damaging anything. You’ll absolutely need a helper. The bed frame gets dangerously heavy after piston removal, so one person must secure it while the other works. Secure the cabinet to a wall stud first. Use a clamp to prevent the frame from falling. Lower everything slowly with a helper onto a padded floor. Now, here’s the thing: you must keep components organized. Label every part and take photos. This meticulous step is non-negotiable for a safe piston reinstallation and cabinet reassembly later. Your clear takeaway? Rushing causes injuries and mistakes.