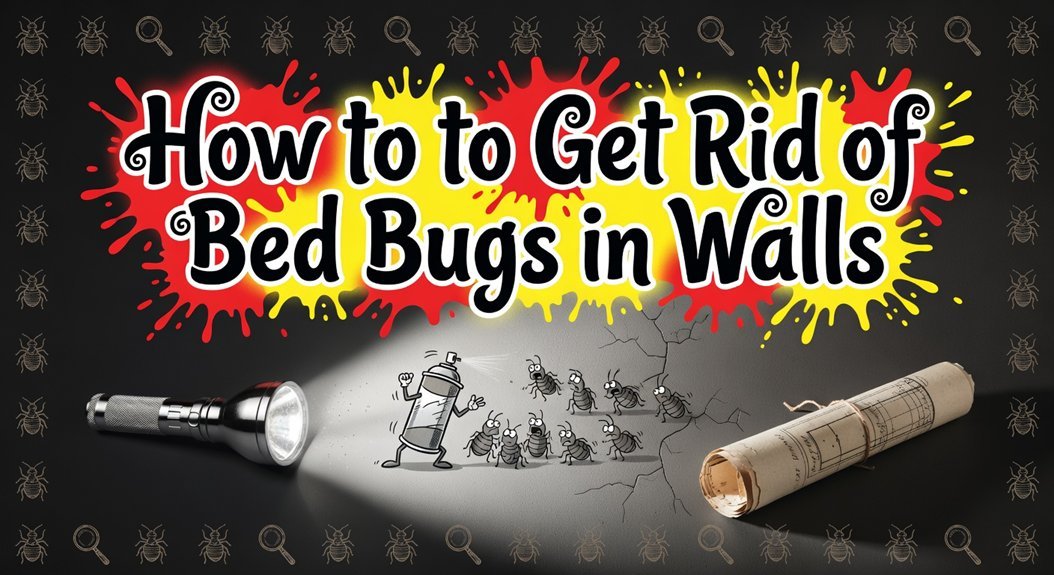
How to Get Rid of Bed Bugs in Walls
You’ve hit on the real challenge—bed bugs love hiding in walls. First, confirm they’re there by checking cracks and outlets for dark spots or shed skins. Now, you’ll need to treat those voids directly: pros use special dusts or whole-room heat reaching 135°F for hours. Finally, seal every crack with caulk to trap any survivors. Your next move is deciding between a complex DIY approach or calling a professional, and the details ahead will help you choose.
Confirm a Bed Bug Infestation in Your Walls
First, you’re right to check your walls—bed bugs can easily hide there, and you’ll want solid proof before you take any further steps. Your best inspection tools are a bright flashlight and your eyes. You’ll scan cracks, baseboards, and ceiling junctions. You’re looking for tiny, pale yellow eggs (pinhead-sized) or dark, ink-like smears. Fecal identification is key; these spots are about the size of a pen tip and smear if you wipe them. Obviously, you might also see shed skins or a sweet, musty smell near the walls. Pay special attention to electrical outlets and wall voids, which provide ideal shelter. Their ability to scale vertical surfaces using tiny claws helps them access these hidden spots. Given their tendency to hide in voids, consider the value of platform-style furniture which minimizes contact with walls and floors. Now, this confirmation means you’ve found their harborages. Your next move is to start preparing that room for treatment, which requires specific steps to contain the problem.
Prepare Your Room for Wall Treatment
All right, you’ve confirmed they’re in the walls, and now you’re probably wondering how to actually get the room ready for treatment.
You need to remove clutter completely. Every item on floors and in closets has to go. Clear infestation signs mean double-bagging loose stuff for later inspection.
Move furniture at least 24 inches from every wall. Flip couches over and open sleeper beds. This gives full access. For a wall-mounted bed, carefully follow the manufacturer’s instructions to detach and lower the mechanism before moving it, ensuring you have the necessary tools and follow proper wall bracket safety procedures. If your bed tends to slide on a smooth floor, place it on a rug or carpet to provide friction and prevent movement during treatment.
Then inspect items like books and electronics. Bag any bug-free toys. Launder all fabrics on high heat for 30 minutes and seal them away.
Finally, vacuum everything thoroughly, from baseboards to under cushions, and dispose of the bag outdoors immediately. Your room is now stripped for action.
Treat Wall Voids With Heat, Chemicals, and Vacuuming
Targeting the bugs hiding in your walls feels overwhelming, but you’ve got three main tools: heat, chemicals, and vacuuming. Heat treatment is effective against bedbugs in wall voids but has limitations. Professional systems raise temperatures to 115°F to 150°F for 4+ hours, but monitoring guarantees lethal heat penetrates cracks. However, wall insulation and older plaster with cracks shield bugs, reducing treatment success. You need ambient temperatures reaching 135°F for 1–4 hours, with cracks needing 122°F. Survivors can repopulate. Pesticide application targets the 2-4% of bed bugs typically surviving heat. This makes clearing bed bugs from a multipurpose room especially challenging, as you must treat the entire integrated living space. Before beginning any wall treatment, ensure the room is clear of furniture like bunk beds to allow full access to the perimeter. Properly disassembling and storing the bed frame ensures safe reassembly later.
Here’s your chemical follow-up. Apply dusts like Delta Dust or CimeXa via hand duster into accessible voids. CimeXa remains effective long term. Post treatment residuals in floor wall junctions or sockets help. Now, vacuum walls with brush attachments to remove bugs from holes. Seal minor holes post vacuuming. Repeated vacuuming helps, but vacuuming alone rarely eliminates infestations in walls. Obviously, integrated approaches combining heat, vacuuming, and insecticides work best. Apply desiccant dusts post heat. Use residual sprays in wall junctions. For maximum safety during this process, especially in a child’s room, securing heavy furniture like anchored bunk beds prevents tipping hazards when moving items for treatment.
Seal Walls to Prevent Bed Bugs From Returning
Now, you’re wondering how to lock those bugs out permanently so they can’t crawl back into your walls. Start with a thorough baseboard inspection. You’re looking for any tiny gaps where the board meets the floor or wall.
Here’s your main defense: caulking materials. Use a caulk gun to seal every crack you find. Think of it like spreading icing to block their highways. Pay special attention to the bottom of baseboards; a clear bead there stops travel. For a more integrated look, you can finish the seal with matching trim or cabinetry. Before applying any sealant, you must consult your landlord to ensure you have permission. The final setup should be sturdy and secure, much like ensuring a separated bed frame is child-proof and stable, and this approach mirrors the structural security achieved by using metal brackets or wood braces for reinforcement.
This sealing traps any remaining bugs inside the voids, where they’ll dehydrate. It’s a critical physical barrier. Your sealed walls now prevent new bugs from finding a home. You’ve fundamentally fortressed your space.
Verify Elimination With Post-Treatment Monitoring
You’re probably wondering, “How do I know for sure the bed bugs are really gone?” Post-treatment monitoring is your verification step, where you use tools like interceptors and follow-up checks to catch any survivors. You’ll follow specific post treatment schedules, typically starting checks within two weeks and continuing for several months. Place passive interceptors under furniture legs and inspect them regularly. This is especially important for bunk beds or heavy furniture, as you must always observe the manufacturer’s weight specifications to prevent structural strain during inspections. For absolute certainty, consider canine detection. Certified dogs reliably sniff out hidden survivors or eggs that traps miss. You need zero activity for 30–60 days across all methods to claim success. This layered verification gives you true confidence that your walls are clear. Ensure your furniture is anchored securely and adheres to the manufacturer’s weight limits during and after your monitoring period. When inspecting loft or bunk beds, be mindful of their design load capacity to avoid compromising the frame. Now, maintaining vigilance prevents a future problem.