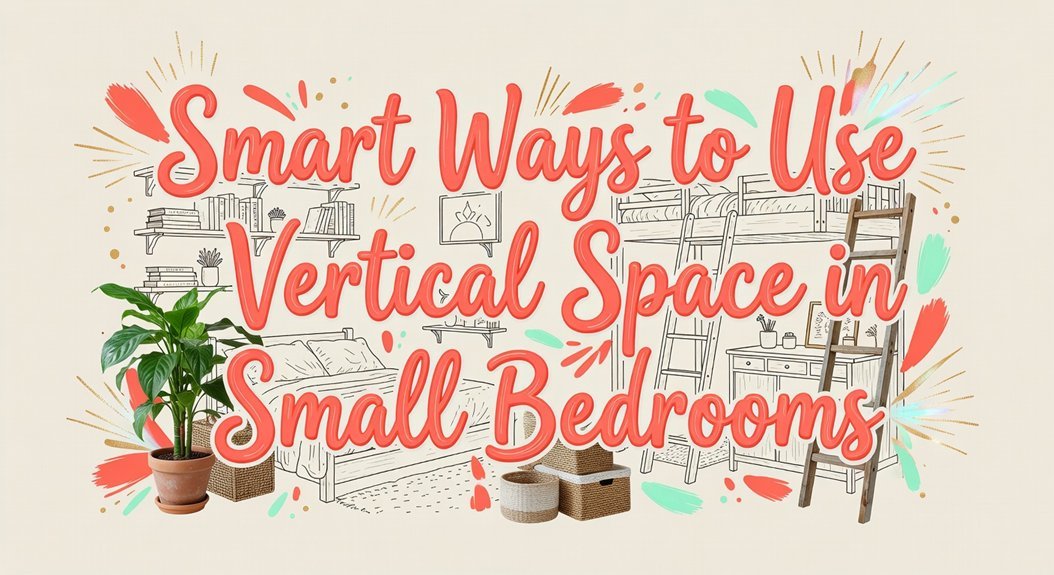
Smart Ways to Use Vertical Space in Small Bedrooms
You’re wondering how to create storage without sacrificing space, and you’ve asked the right question. Your bedroom’s vertical zones are your most powerful, overlooked asset. Mount floating shelves 12 inches deep, install sturdy peg rails, and choose tall, narrow wardrobes. Elevate your bed with a loft frame to free the entire floor below. Suddenly, your room will feel taller and more organized—and there are even smarter ways to build on this.
Why Your Walls Are Your Best Storage Allies
You’re wondering how to actually add storage without eating up your precious floor space, right? Here’s the thing: your walls are your best storage allies. Think vertically. That 12-inch gap below the ceiling is prime, underused real estate. Install tall shelving units that reach up. They maximize your room’s full height capacity. This strategy frees your entire floor area. It’s a game-changer for compact bedrooms. For a curated, personal touch on these shelves or the wall above them, consider arranging a gallery wall of framed photos or artwork. Another excellent way to capitalize on vertical space is by installing a loft bed with integrated storage, which combines elevated sleeping with built-in compartments. Remember to ensure the loft bed is secured with sturdy construction and that you have adequate ceiling clearance for safety and comfort.
Now, this approach does more than just store stuff. Full-height shelving draws your eye upward. It cleverly makes the whole room feel taller. You can even use this to your advantage with your wall colors and ceiling angles. Lighter colors enhance the airy effect. They work with those angles to expand the space visually. Your storage becomes a design feature.
Start Simple: Mount Floating Shelves and Hooks
You’ve revealed vertical space, right? Start simple with floating shelves and hooks. Shelves appear weightless, creating a sleek look. You’ll get that minimalist feel. Ensure you measure your available space carefully, as precise measurements are a key consideration for any wall-mounted solution.
Now, shelf positioning is critical. Use a 12-inch depth in small bedrooms. It’s perfect for your items without intruding. You must anchor brackets into wall studs, following the same safety considerations for wall studs advised for mounting heavier items like headboards. Check level alignment constantly. This prevents any sagging and ensures wall-mounted shelves, like those perfect for bunk beds, are both secure and space-savvy.
For hooks, think about hook spacing. Even distribution keeps things tidy. It avoids clutter. Mount them between shelves for balance. This utilizes every inch.
Your walls transform into organized zones. You free up drawer space. You display books and decor elegantly. Install them permanently, but DIY is straightforward. It’s your first smart step toward conquering that small room.
Organize Everything With Peg Rails and Wall Systems
Standard wooden pegs spaced at six-inch intervals work great for daily items like robes and bags.
Think about rail spacing too. You can install a single rail, or double rails seven inches apart for more capacity. Obviously, you must secure them into wall studs for stability.
A single wall installation can give you about fifteen feet of linear storage. That preserves all your floor space. Now, consider how many pegs you’ll need for your belongings. Clearing your floor in this way complements a space-saving lofted bed that provides additional storage underneath. When building a loft bed, thoroughly reinforcing the support beams is critical for long-term safety and stability. For maximizing vertical space, you can even choose a modular loft bed to perfectly integrate with your wall storage system.
Think Tall: Use Vertical Furniture and Wardrobes
Harnessing your room’s full height is key when floor space feels impossible. Here’s the thing: you can’t add square footage, so you must exploit every inch upwards. You’ll get the most storage by choosing tall, narrow furniture pieces. Install tall furniture pieces to draw the eye upward and maximize your storage capacity.
Obviously, a traditional wide wardrobe eats up floor space. Instead, opt for vertical wardrobes. They provide the same storage but keep your floor clear. For your clothing, consider slender tower dressers. These pieces stack drawers high, using a minimal footprint. Position any tall furniture against your walls. This creates clean vertical lines that visually lift the ceiling, enhancing the room’s height illusion. Your takeaway: think vertically for furniture first. Now, you’ve opened up the floor. What about the space above your bed? A great solution is a space-saving bunk bed with built-in features like desks or drawers to maximize vertical space in a tight layout, while a loft bed can free the entire area below for a desk or play zone. A sturdy DIY loft bed project starts with careful planning and structural safety checks to ensure a secure and lasting build.
Elevate Your Bed for Vertical Storage Space Below
You’re wondering if elevating your bed could really solve your storage crunch without making the room feel cramped. It absolutely can. Frame lofts or modular platforms elevate your sleeping area, instantly freeing the entire floor space below. Now you’ve got vertical room for drawers, open shelving, or even a desk. To ensure comfort, always measure the clearance height between the mattress and floor for adequate headroom when sitting beneath the loft.
Here’s the thing: you exploit every centimeter. Build custom shelving walls under the platform for books. Slide in rolling carts for linens; they can double as tables. Obviously, you’ll maximize capacity by thinking vertically even under the bed, using the full height. Modular platforms let you configure this storage to match your needs. Choosing a traditional loft bed height typically provides optimal space for a desk or seating area underneath.
Your takeaway: elevating your bed creates a multifunctional foundation. So, measure your space and sketch what you’d store underneath. A successful DIY project begins with proper planning and a final safety inspection to ensure everything is secure.
Create Zones With Floor-To-Ceiling Storage Dividers
If you’re wondering how to get distinct living and sleeping areas in a single cramped room, the trick isn’t using floor space, it’s commandeering the empty air. You build a floor-to-ceiling storage divider.
Here’s the thing: you pick panel materials for your design aesthetics. You use plywood towers, Finnish underlayment panels, or sheer woven sliders. You get a stylish wall that holds everything—a closet, shelves, a desk. Now it’s two rooms. For the ultimate space-saving solution within this new sleeping zone, consider incorporating a wall bed that folds vertically into your new divider structure, a solution also known as a Murphy bed. Many vertical configurations are designed to pivot neatly into a cabinet, freeing up the entire floor area.
Obviously, these units are deep storage. They’re often 24 inches thick or span over 3 meters wide. You gain a walk-in closet behind a chic structure without losing a square foot. The clear takeaway? Your divider defines zones and stores your life. Next, you’ll need bedside storage without touching the floor.
Save Floor Space With Wall-Mounted Nightstands
Okay, you’ve carved out zones with that big storage divider, but now you’re thinking, “Wait, where do I put my bedside stuff without cramping the floor again?” That’s the perfect next puzzle to solve.
How can a nightstand even float?
Mounting it directly to the wall saves your floor. It frees up space for cleaning or more furniture. You gain a sleek, floating look that makes the room feel bigger. For maximum space efficiency, consider integrated furniture like a wall‑mounted bed‑table combo that combines multiple functions into a single unit.
What should I know before installing?
First, address wall safety considerations by finding studs or using proper anchors. Then, play with installation height variations. Aim for 45-50 cm above your mattress top. This approach to maximizing bedroom functionality is similar to how a well-chosen bunk‑couch combo uses vertical space.
This keeps essentials handy and maintains your clean sightlines. Ready to think about what goes on the wall above your bed?
Create a Rental-Friendly Closet on Your Wall
Now, storage bins and baskets are key. Use matching woven baskets on your shelves to contain everything. This creates a uniform, aesthetic look while maximizing vertical space. For maximum visibility and to avoid overcrowding, work towards a capsule-style wardrobe curated from your most-worn items. Finally, search for DIY and video hacks. Tutorials show budget tricks, like using temporary wallpaper on shelves for a chic, portable upgrade.
Plan Your Layout to Prevent a Cluttered Look
It sounds like you’ve gathered the storage pieces but still feel the room looks busy—that’s all about layout.
First, think in zones. Position your loft bed against the shortest wall and align tall furniture nearby. This creates a clean, vertical line. Now, manage that tight floor plan. Keep pathways at least 24 inches wide and use narrow furniture under 18 inches deep. Your lighting placement is key here. Obviously, you need task lights under a loft, but also use wall fixtures to draw the eye up your storage walls. This avoids dark, cluttered corners.
Finally, seek texture harmony. Limit shelves to 3-5 items and use similar bins on those tall units. This visual consistency makes dense storage feel calm, not chaotic.