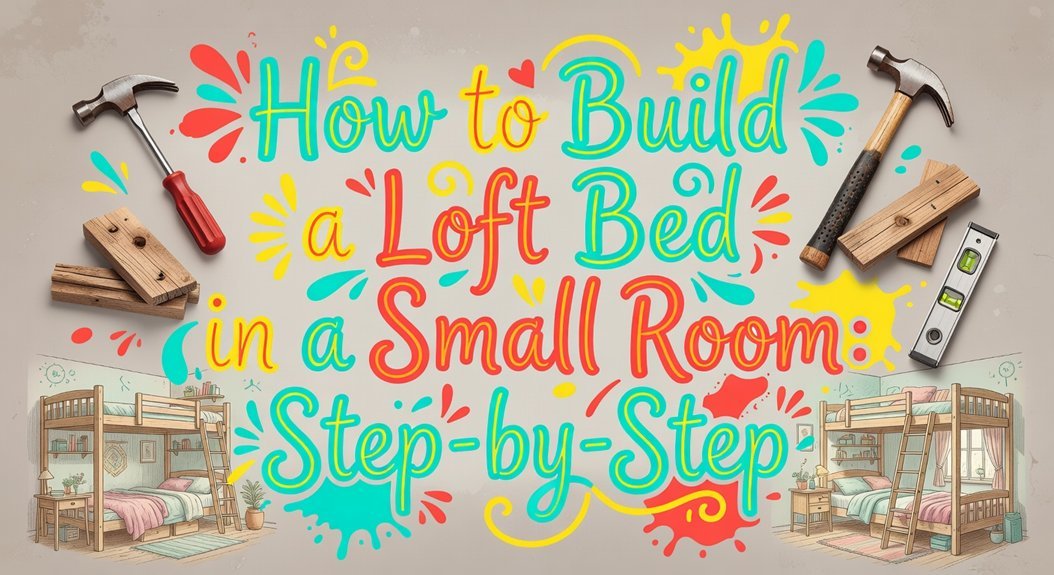
How to Build a Loft Bed in a Small Room: Step‑by‑Step
Building a loft bed in your small room is a smart move to reclaim floor space, but planning is key. You’ll start by measuring your room’s exact dimensions and sketching a scaled plan, aiming for a platform height between 4 and 6 feet. Use sturdy lumber like 2x4s for the frame, choosing plywood or slats for the base based on your mattress type, and always anchor it securely to the wall studs for safety. Your next step is calculating your specific material list.
Plan Your Loft Bed Layout and Choose Materials
You’re probably wondering where to even start — it’s not just about building a bed, it’s about designing a whole new zone in your room. Your entire plan revolves around space optimization. Grab a tape measure. You’ll map your room’s exact dimensions, ceiling height included, and sketch a scaled floor plan. Now, you can’t ignore your ceiling. Keep 33-36 inches of clearance above your future mattress to avoid painful bumps, especially with low or slanted ceilings. Here’s the thing: position your loft away from fans and lights, leaving a central walkway. This initial planning defines your workable area for a desk or seating nook underneath. That’s how a loft transforms a cramped room. Aim for a sleeping platform between 4 ft and 6 ft above the floor, considering both safety and the style of loft you choose.
Next, material sourcing turns your plan into a physical structure. You’ll need specific items, like 2×2-inch metal tubing for the main frame and hardilite sheets for surfaces. Ordering the right quantities is vital. Your scaled drawing will tell you exactly how much you need. When designing the under-bed area, ensure there is adequate sitting headroom for the intended activities underneath. A crucial part of assembly is securely installing support brackets to ensure the frame is stable. This prep prevents frustrating mid-build delays. You’ve now linked smart design with a concrete parts list. Your next step is gathering those tools and supplies.
Gather All Required Tools and Building Supplies
Before diving into the vast world of hardware store aisles, let’s make sense of this detailed list by grouping everything into its functional category—it’s your personal shopping roadmap.
You’ll find materials in four key piles. Your Lumber Selection includes 2x6s for the main frame, 2x4s for legs, plus plywood sheets for the platform. Next, hardware like lag bolts and joist hangers. Finishes include wood glue and trim. Finally, you’ll need all tools like a circular saw and drill. Accurate planning must account for ceiling height constraints and your dorm’s specific weight limits.
Tool Safety gear is non-negotiable; add glasses and a mask to your cart. Now you’ve got your complete inventory. Next, you’ll precisely cut every piece from this stockpile. A successful build also depends on ensuring safety features like guardrails and proper anchoring. Remember to incorporate reinforcing joints and thorough sanding for a strong, finished piece.

【Multi-Functional Fun House Bed】-- Featuring wtih high roof, window and house design, this unique bed creates a fun and adorable space that not only serves as a...
Cut the Frame, Leg, and Support Pieces to Length
Since you’re staring at that pile of lumber wondering how to turn it into a loft bed frame, here’s the key: precise cuts now prevent headaches later. Start by cutting your 2×4 legs to a 72-inch length for your twin bed height. Square one end on your miter saw first for accuracy. Save your two by four cutoffs to later build the bed’s steps. Begin by unpacking and sorting all components and tools to ensure you have everything needed.
Now, cut your long frame rails to 80 inches and your short rails to 44 inches. When cutting angles for angled supports or the ladder, use a template; one common angled support length is 23 5/16 inches. After every cut, spend a moment sanding edges smooth for safer handling and cleaner joints. A quick test-fit of your main pieces lets you verify dimensions like the critical 42-inch under-bed clearance before final assembly, and also confirm your frame assembly aligns with your planned guardrail placement. Always confirm your chosen mattress size before finalizing these frame cuts to ensure a perfect fit.

By Crafters, For Crafters - Crafting and building with wood is our number one priority. Bringing you more of the wood craft supplies you love is our job. Please dont hesitate to get in touch.
By Crafters, For Crafters - Crafting and building with wood is our number one priority. Bringing you more of the wood craft supplies you love is our job. Please dont hesitate to get in touch.

Many Uses - This product is suitable for new home construction, renovation projects, and more and has been tested for many different jobs.
Assemble the Main Loft Bed Frame Box
Because turning a stack of lumber into a frame probably seems intimidating, here’s the core concept: you’re building a sturdy box that holds everything up. Start by assembling two identical rectangles, your lower frame and top rail, using your 79-inch and 54-inch 2×6 boards. For critical joint strengthening, apply wood glue to all contacting surfaces before driving three 4-inch screws through pilot holes at each butt joint.
Now, you’ll stack these frames. Here’s the thing: frame squaring is essential. You must verify each rectangle is perfectly square before proceeding, using a measuring tape to check for equal diagonal measurements. Similar to building a Murphy bed frame, ensuring precise squareness is crucial for smooth operation and long-term durability. With a helper, position the top frame directly above the lower one, separated and connected by your spacer blocks. Glue and screw these spacers securely. Accurate layout planning at this stage prevents issues with the final structure and its lifting hardware. Before final assembly, confirm your design accommodates any planned electrical wiring for integrated lighting or outlets. This creates your rigid main frame box, ready for slats. Remember to secure the frame by tightening all tension knobs once it is in position on the side supports.

🥇🥇【Heavy Duty Loft Bed Twin Size: Modern】Made of heavy-duty steel, this twin size loft bed features a black finish that adds an industrial touch to your bedroom and complements any room style. 51 inch under-bed clearance that you can turn the space into a reading nook or a craft area.

【SOLID & STURDY BED FRAME】Constructed by 100% solid pine wood with white paint finish, this kids loft bed features 1 center beams, full-length guardrail and wood slat support, all these enhance this full loft bed load capacity to 264.55 LBS

Easy to assemble metal twin size bed frame, include hardware, tool and clear instructions.
Construct and Attach the Sturdy Loft Bed Legs
A rigid box frame is great, but you’re probably wondering how it will actually stand up. That’s where your four legs come in.
How Do You Make Legs Strong Enough?
You’ll create each leg through material lamination. Sandwich a 2×4 to a 2×6 with wood glue, then drive screws every 12 inches. This forms an incredibly sturdy post. Drill pilot holes first to prevent splitting. Cut a 1/2-inch deep recess at the same height on all legs, including the ladder, so your frame sits down into them securely. This robust construction is crucial for achieving a high weight capacity suitable for adults, and using reinforced wood designs is key for supporting heavier loads.
How Do You Attach Them for Good?
Flip your frame upside down. Clamp each leg flush and square, add glue, and secure with two bolts. Bolting into the recess locks everything together, drastically improving weight distribution and stopping rocking. For ultimate stability, ensure each joint is square using a carpenter’s square before tightening the bolts completely.
Now your structure is freestanding and ready for its platform.

[Adjustable Bed Frame Support Legs] The adjustable height range is 90-160mm/4-6inch, and the total size is 65x27x90mm/2.56x1x4inch(L*W*H), you will receive 2 pcs bed center slat support legs, please make sure the size you choose is the one you need.

PACKAGE INCLUDE - 2 inch wooden sofa leg x4, 5/16'' hanger bolt x4, insert nut x4, screw x12, rubber pad x4.

ADJUSTABLE BED SUPPORT LEGS: The height of these bed legs can be adjusted using the swivel base to accommodate uneven floors. The original height is 10 inches (25 cm), and the total height can be adjusted up to a maximum of 17 inches (43 cm). Please check the size information before you buy to make sure it meets your needs.
Install the Sleeping Platform With Slats or Plywood
So you’ve got a sturdy frame, but what actually holds your mattress up? Your key material considerations are wooden slats or a plywood sheet. Slats offer great airflow, which is perfect for spring mattresses. Plywood gives a solid, even surface, ideal for dense foam. For your support installation, attach the slats across the frame’s side rails. Space them 2-3 inches apart and use thicker, 1-2 inch wood for strength. Parents should conduct regular inspections of these supports to ensure they remain tight and undamaged over time. Matching your base to your mattress type prolongs mattress life expectancy. For loft and bunk beds, platform frame support often replaces the need for a box spring. Always prioritize safety standards in your construction, as you would when evaluating any pre-built bunk bed. If you choose plywood, simply cut it to fit snugly inside the frame and screw it down securely. That rigid platform eliminates any sag. Your mattress type really dictates the better choice. Now, with a solid platform installed, you’re ready to make your loft bed safe to use.
Add the Safety Guardrail and Access Ladder
Most loft beds need a guardrail—that’s just obvious. You install it on both sides, even against a wall, for full protection. Aim for a rail that rises at least five inches above your mattress top; a taller rail with a low-profile mattress gives you the best safety height. Always check the manufacturer’s specifications to ensure the rail’s height and strength meet adult safety standards.
What about those gaps?
Here’s where net material safety is key. Use a knotless polypropylene net with a tight, 45mm mesh to close any dangerous spaces. This prevents falls without tempting little climbers.
Now, for the access ladder. You position it first, then plan your guardrail layout so it doesn’t block safe climbing. Many integrated stair designs provide inherently stable access and can free up floor space below for storage or play. After assembly, perform a thorough installation verification. Pull on everything to confirm it’s solid and serves its protective purpose. This step drastically cuts injury risk. Next, you’ll tackle permanent stability.

SPACE SAVER: This loft bed makes the most out of your child’s space with underneath opening for storage or play ; Use open space for remote learning or to build a fort ; Add our coordinating character tents to complete the look (tents sold separately)

Space Saving Design: This Twin over Twin size bunk bed with metal slats and ladder is a great solution for those with limited space. By having two beds stacked on top of each other, metal bunk beds Twin over Twin maximizes the use of floor space. Ideal for teens and adults, it's perfect for small bedrooms or shared living spaces

Metal Loft Bed Twin Size: The twin size loft bed over dimension: 78"Lx41.33"W×71.68"H; Weight Capacity: 400Ibs. Recommended mattress: 4-6"; Tipps: For your safety, the mattress on the upper bed must be at least 5 inches (127 mm) below the top edge of the guardrail
Securely Anchor the Loft Bed to the Wall
Ever wondered why even a sturdy loft bed can feel shaky? You’re anchoring it against tipping. First, locate your wall studs and mark bracket points high on the frame. Here’s the thing: you need proper hardware. Choose heavy-duty steel L-brackets and use wall anchors like lag screws driven into those studs. For brick or concrete walls, switch to masonry fasteners. You’ll drill pilot holes, clean the dust, and secure the brackets flush against the wall. Tighten everything with a ratchet. Finally, perform stability checks by applying pressure to the top bunk. Obviously, you’ll re-check these connections periodically because daily use loosens things. Your bed is now solidly attached to the structure of your room.
Apply Paint or Stain and Perform a Final Safety Check
Sand that loft bed down to a perfect canvas before you paint or stain it. Wipe away all dust so your finish sticks properly.
How do I choose paint or stain?
Your stain selection depends on wanting to show the wood grain. Paint application gives solid color and hides imperfections. Obviously, lighter colors work best in a small room. For a unique layered effect, you can apply multiple stain colors and sand between coats.
What’s the actual process?
Use a roller for big areas and a brush for corners to avoid drips. If you stain, wipe off the excess and let it cure before adding a protective topcoat.
Is it safe now?
Do a final check. Tighten every bolt and verify the bed is anchored securely to the wall. Your project’s complete—just add a mattress.