How to Draw a Bunk Bed: Step-by-Step Guide
You’re wondering how to draw a bunk bed so it looks real, not flat—great question. Start by sketching it as a simple 3D box using a horizon line and a vanishing point for perspective. Anchor it with four thick corner posts, connect the bed frames, and always add a safety rail with gaps under 4 inches. Outline thinner mattresses, add wood grain texture, and use a single light source for final shading to create depth. The next steps break down each of those techniques.
Sketch the Basic 3D Box Frame
Sketching that first 3D box frame often feels tricky—it’s the perfect starting question. You begin by drawing the front mattress as a simple rectangle, considering that overall bunk height is significantly influenced by mattress thickness. Now, place your horizon line. Position the trapezoid’s top edge about one or two finger widths below it, using smart horizon positioning techniques. This isn’t arbitrary; it sets your entire perspective. You’ll draw the back wall as a long line from the trapezoid’s base.
Here’s the thing: those trapezoid sides aren’t random. You’re applying line convergence methods toward a single vanishing point, which instantly creates the 3D box illusion for the lower bunk. This gives you a solid, proportional anchor. For a loft bed, using foreshortening principles will help accurately depict the ladder and guardrails later. Your next step is establishing vertical support. For complex structures like this, a three-point perspective framework is established by placing two vanishing points on the horizon and a third significantly above or below it. Like building a real loft bed, your drawing will benefit from starting with basic measurements for proper scale and proportion.
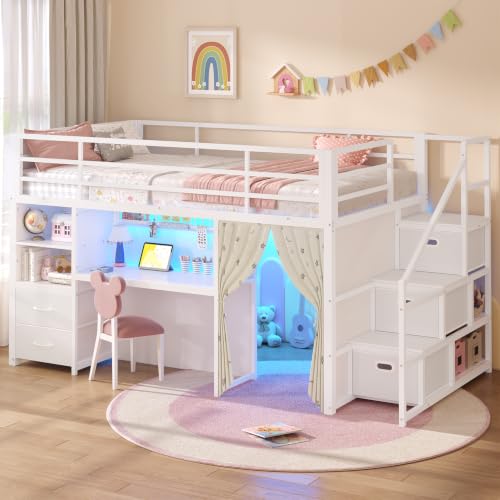
Safety Guaranteed: Our kids loft bed keeps little ones safe with a full-length 13.4" H guardrail on the top bunk and anti-tip devices for extra stability. Plus, the staircase design (no open ladders!) features sturdy steps that hold up to 200 lbs, so kids climb safely and adults can tuck them in with ease. Recommended mattress thickness: 4–6 inches.

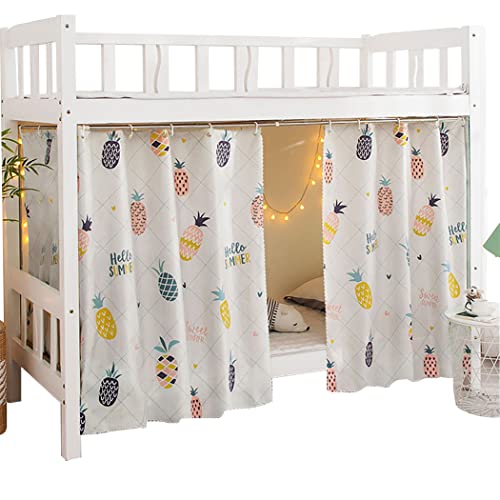
Size Tips: The bunk bed curtains measurement 78.7 x 45in/200 x 115cm (L W). Fit 2 1m/ 79 39.5in or smaller single size/ twin size bunk bed. Can cover both sides and front
Draw the Four Corner Support Posts
Now that you’ve got your 3D box frame, you’re probably wondering how to make it stand up, right? That’s all about support post placement. Extend a straight vertical line upward from each corner of your bottom bed frame. You’ll draw four posts in total.
Here’s the trick for post height proportion. The top ends of these lines set the bunk separation. Obviously, you want them consistent. Proportion it so the top bunk frame will sit about midway, which often translates to a total height of around 60–70 inches for a twin‑over‑twin configuration, a common length for which is 78-80 inches. When drawing these supports, consider the integrated staircases often featured in modern designs for safer access compared to ladders. For a 3D look, add a parallel line inside each post. This creates thickness. Remember, careful placement and proportion make your bed look stable and realistic. Next, you’ll connect these posts to the bed frames.
Connect the Posts With the Bed Frames
All right, you’ve got your posts standing, so let’s connect them to make that box an actual bed. First, you’ll need assistance holding the posts upright as you slide the lower bed frame into their grooves. Apply generous glue to the joining areas, then drive 3.5-inch screws deeply through the frame into the posts. Accurate leveling here is critical—use spacers to position everything correctly before you lock it down. You must guarantee the frame seats with a flush alignment against the post grooves, which prevents racking. The long side connection uses six screws to provide robust structural stability and prevent racking. Next, repeat the exact process for the upper frame. Check levelness after each attachment. It is wise to keep any extra hardware organized and labeled during assembly to simplify any future dismantling. After the assembly, consult a building code guide to ensure your bed meets safety standards for spacing and stability. Before finalizing your project, perform a thorough safety inspection to guarantee everything is secure.

Package Contents: 12 sets of black allen furniture bolts and barrel nuts, 1 pcs hex key. Easy for you to install and use.
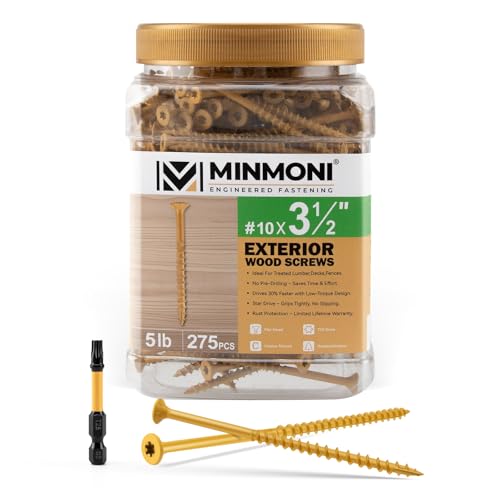
Superior Corrosion Resistance: Ruspert coating, ideal for pressure-treated lumber, matches hot-dip galvanization (ASTM A153, Class D) for excellent rust protection in outdoor conditions.
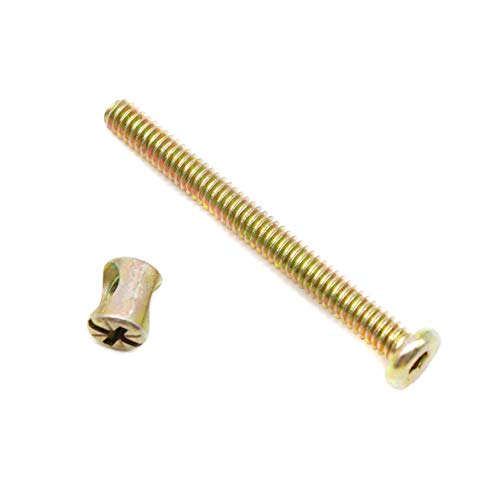
♛♛Package: 10pcs Crib Screws, 10pcs Phillips Slotted Barrel Nuts;
Add Pillars and Braces for Strength
Having secured the frames, you’re probably wondering how to guarantee the entire structure won’t wobble—that’s where pillars and braces come in. Now, for robust pillar connections, you’ll attach four vertical 2×6 legs, cut to 72 inches. Here’s the thing: you’ll secure each inside corner with eight screws. The conflicting angles of this structural geometry create a grid that locks everything tight, preventing racking. You’ll then add cross braces every 12 inches between side rails for the mattress platform. Finally, nail 1/2-inch plywood over these braces. This pillar-and-brace network is your bed’s skeleton. For ultimate stability against tipping, this internal bracing should be complemented by securing the bed to the wall studs. It’s critical to perform regular hardware checks to prevent loosening over time. When completed, be sure to check the bed’s safe weight capacity, typically 200–250 lb per sleeper for a solid-wood frame like this, to ensure it is used safely. All right, your core structure is solid. Next, you’ll need safe access, so let’s outline the rail and ladder.

By Crafters, For Crafters: Crafting and building with wood is our number one priority. Bringing you more of the wood craft supplies you love is our job


M6 Threaded Washers - 120mm M6 Threaded Bolts Set
Draw the Safety Rail and Ladder
But how do you get in and out without risking a fall? Your guardrail design is critical. Draw a full-length rail on the upper bunk’s open side. Its gaps, like at the ladder entry, must stay under 3.5 inches. This prevents entrapment. Most safety experts recommend waiting until a child is at least six years old before they use an upper bunk. Now, integrate the ladder. Your ladder specifications matter. You can attach it straight to the frame or angled out. Angled ones are often easier. When drawing, consider the material durability and fit, selecting a model with non-slip steps and secure mounting hardware for safety. Always verify that your design meets the manufacturer’s weight limits for safety. Guarantee even rung spacing for a safe climbing rhythm. Draw each rung with a textured, grooved surface for grip. Secure the ladder firmly to the frame, showing bolts. Connect its top to the guardrail for stability. This combination creates a safe, accessible bunk. Next, you’ll sketch the bed’s complete structure from the opposite side.
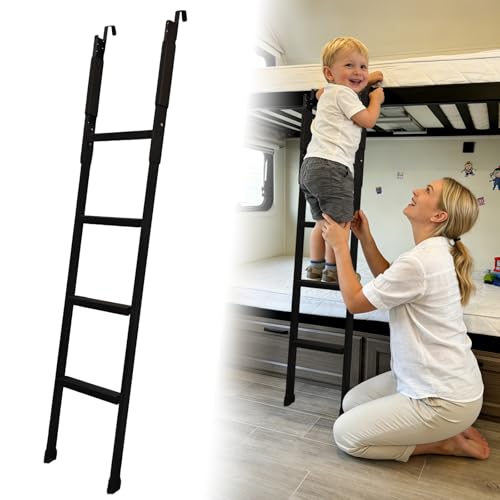
WIDE RANGE HEIGHT ADJUSTMENT: Our bunk bed ladder can be adjusted from 52 to 64 inches without cutting its legs. It features a unique design with 13 adjustment holes spaced 1 inch apart, offering a full 12 inches of flexible height customization. This allows for precise fitting to various bed heights and user needs with just one bunk ladder, far beyond just minor tweaks.

🧸 Soft Bunk Bed Ladder Pads for Comfortable, Pain-Free Climbing: Make every step up the bunk bed a comfortable one. Our soft bunk bed ladder pads add a thick, cushioned layer that protects kids’ and adults’ feet from cold metal and sharp edges. Whether climbing to the top bunk at night or getting down in the morning, the ladder feels warmer, softer, and safer. Ideal for bunk bed ladders, loft bed stairs, and top bunk bed accessories used daily by children.

【Safeguard Your Child】Bunk Bed Ladder Cover prevents unsupervised climbing, reducing fall and injury risks.Providing peace of mind by protecting your child from potentially life-threatening accidents
Sketch the Opposite Side and Back Posts
Your takeaway: proper post placement transforms a 2D sketch into a dimensional form. This is similar to building the frame using wooden planks and fences in the game. Next, you’ll outline the sleeping surfaces. Consider whether your design is a twin-on-twin configuration or a loft style, as this defines the sleeping surface layout. To reinforce the three-dimensional illusion, make the front posts thicker than the rear posts you will draw behind the mattresses. Proper guardrails are a critical safety consideration for any realistic bunk bed sketch.
Outline the Mattresses and Pillows
How do you make those flat bunk platforms look like actual, comfortable beds? You outline rectangular mattresses spanning the width between posts, keeping them thinner than the frame for proper proportion. For an accurate representation, the most common sizes to depict are twin, twin XL, or full, which are also popular choices for small apartments and shared rooms in real life. Use curved lines for the mattress edges to suggest softness and thickness, aligning them parallel to your bed base. Then, add pillows—about one-third the mattress length—angled at the head end. Draw them with slight curves to imply fabric folds and bedding textiles. Incorporate light shading on the surfaces for a 3D effect, and remember to keep the ladder area clear. Your mattress materials are now defined, transforming your structure into a believable, cozy bunk.

VENTILATED GEL FOAM: Gel-infused memory foam mattress enhances airflow and regulates temperature, helping you stay cooler and more comfortable throughout the night for deeper, uninterrupted sleep.

TRADITIONAL SUPPORT, BETTER FOR THE PLANET – This reliably comfortable hybrid will provide even support night after night and arrives to you in a new smaller box that reduces its carbon footprint

Suitable Support for Everyone and All Sleep Positions: Matress of EGOHOME has a high degree of fit with body curve, it will deform with changes in sleeping posture, filling the gap between your body and the mattress, advantage for your spine and promoting smooth blood circulation throughout the body. It also reduces the noise interference caused by turning over, effectively promotes perfect deep sleep.
Add Wood Grain and Texture Details
Now that you’ve got comfortable mattresses and pillows, that bare wood frame probably looks a bit plain and flat, right?
How do you make that wood look real?
Use grain variation techniques. Draw your main lines spaced 1/10 inch apart, but vary their thickness and let them curve slightly. Add knots as small circles. Now employ texture layering methods. Start with your fine pen lines. Then, layer colored pencil shading along the grain. Use light graphite hatching in the recesses and stippling around knots for roughness. Blend smooth areas with a tortillon.
Okay, but what about different types of wood?
For pine, keep it straight and even. For oak, add short horizontal dash “ray flecks”. Plywood edges get concentric arcs. For a guard rail modeled on a real build, ensure the spacing between your drawn rails follows the standard code of 4 inches.
Your takeaway: Build up texture slowly in layers. Next, you’ll consider how to show all this depth in perspective.
Draw Your Bunk Bed in 3D Perspective
Your takeaway: two vanishing points anchor your 3D structure. Next, you’ll reinforce this solid form with strategic shadows.
Apply Final Shading for Depth and Volume
You’ve built a solid 3D structure using those two vanishing points, but it might still look flat, right? Now, apply final shading. Your material selection informs your technique. For wood, use layered hatching, varying pressure for grain. For fabric, use zigzag lines for wrinkles and darken folds. Establish the light source to dictate the placement of core shadows and highlights. Here’s the thing: your light source placement dictates everything. Core shadows form on surfaces facing away. Highlights stay light on top planes. Blend shifts softly with a stump for realism. Don’t forget color theory if you’re adding tone; warm hues advance, cool hues recede. Obviously, use a value scale from light to dark. This creates the volume illusion. Your bunk bed now has weight and space. Ready to add those final texture details?