
How to Build a Loft Bed in 5 Easy Steps
You’re probably wondering how to tackle a loft bed without it feeling overwhelming. All right, let’s break it into five clear steps. Start by prepping your space and precisely laying out the base frame. Next, build sturdy L-shaped legs from 2×6 boards. Secure your mattress foundation, then add safety railings and a ladder. Finally, tighten every bolt and do a thorough safety inspection. Stick with me, and you’ll have a solid plan for the details ahead.
Prepare Your Workspace and Layout the Base Frame
Obviously, starting this project can feel overwhelming—but you’ve already nailed the most important step: getting your workspace ready first.
Workspace Safety is fundamental. You’ll clear a 10×10 foot area, sweep it, and lay down tarps. Then, position your tools within a 5-foot reach and verify your lighting exceeds 500 lumens. This prevents slips and gives you clear visibility.
Now, focus on Tool Organization. Gather your circular saw, drill, Kreg jig, clamps, level, and tape measure. Arrange them by function on a cart. Set your Kreg jig for 1.5-inch depth and test all your tools. Good organization eliminates frantic searching. Accurate measurements at this stage are crucial for the later phase of reinforcing the support beams. A detailed plan is also vital to ensure proper structural safety throughout the build, and you should begin by sketching the layout with precise measurements and layout planning.
Your immediate takeaway: a safe, organized space is your foundation. Your next logical step is selecting your lumber and making your first precise cuts.
Construct and Attach the Sturdy L-Shaped Legs
drive 4-inch screws every25512 inches along the joint, using at least six per leg. Clamp everything square while the glue dries. For leg finishing techniques, plane or sand all surfaces smooth before assembly. Now flip your frame upside-down.
Attach each leg flush to the corners using six screws. Check for squareness. Your sturdy base is complete, ready for the platform. You can also anchor the ladder to the bunk frame for maximum stability, ensuring it has secure mounting options and anti‑slip steps for safety. When selecting a replacement ladder, prioritize material durability and verify its weight capacity for long-term use.
Secure the Mattress Foundation and Lower Platform
All right, you’ve got that rock-solid base built, and now you’re probably wondering how to turn it into an actual bed. You’ll start by securing the lower platform.
Install 2×4 slats across the frame, spacing them evenly for full support. Attach them using joist hangers for solid support. You’ll add one slat closer to the ladder end to reinforce that high-traffic area. Place a plywood sheet atop these slats to create a perfectly flat foundation for your mattress. For lofted beds, remember to replace mattress only after safety rail is installed.
Now, you secure everything. Tighten every connection thoroughly, and use locking hardware like nuts on bolts to prevent loosening over time. It is also wise to reference building codes for proper guardrail height and spacing requirements. You should also anchor the structure to wall studs to ensure the bunk remains stable over time. Your mattress positioning is critical here; a stable base prevents shifting and guarantees safety. Selecting the correct mattress size for your frame is crucial for both comfort and safety.
Your frame is now ready for the final safety components.

Made from 18 gauge galvanized steel to increase rust and corrosion resistance, creating a stronger, long-lasting joist-to-header connection

【Premium Quality Materials】Fashioned from galvanized steel, each joist hanger demonstrates outstanding durability against corrosion and rust, ensuring a robust and enduring connection between the joist and header

【 Durable Outdoor Performance 】 - Crafted from robust Q235B heavy steel with a protective powder-coated finish, these concealed joist hangers offer superior resistance to rust and corrosion, ensuring reliable performance in various outdoor conditions.
Build the Safety Railings and Attach the Ladder
With your base locked down and the mattress foundation secure, you’ve probably noticed there’s no barrier keeping you from rolling off the edge in your sleep—that’s what we fix next by installing the safety railings and attaching the ladder.
You’ll start by building the rails. Face-glue 1×6 boards for strength, then add your vertical slats. For classic flat rail plans, drill dowel holes in your 22 pre-sanded slats and the rails, securing them with glue. For consistency in hole placement, consider creating a custom 3D-printed jig for repeated drilling on each slat end. Bolt these complete rail assemblies to the bed posts using threaded inserts. When installing guardrails, ensure their height and spacing meet current safety standards to prevent falls and entrapment.
Now, build your custom ladder design from matching wood. Cut your verticals and rungs, using a compound miter saw for precise angles. Ensure its rungs provide a secure grip and the overall construction meets the sturdy load capacity required for safe daily use. Anchor the ladder’s base to the floor and screw its top securely to the bed frame near a rail for stable access, considering the height of the sleeping platform for comfortable climbing.

𝗖𝗢𝗠𝗣𝗔𝗧𝗜𝗕𝗜𝗟𝗜𝗧𝗬, 𝗟𝗘𝗗 𝗪𝗜𝗧𝗛 𝗕𝗘𝗡𝗘𝗙𝗜𝗧: This stair railing kit gives seniors and anyone using steps a secure grip in rain, snow, or everyday use. Includes 2x 36" posts, a 76" top rail, a 66" middle rail, and all mounting hardware. Fits residential porches, patios, decks, concrete steps, and commercial entryways, indoors or outdoors.
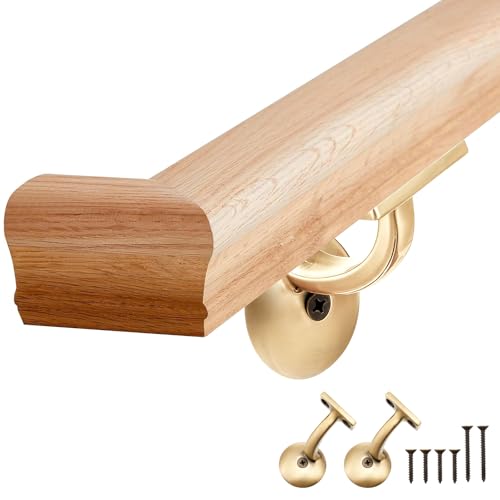
Package Includes: our red oak handrail kit includes not just a red oak stair handrail, but also two wall brackets accompanied by matching screws; This simplifies installation and ensures you can easily add a safe, stable handrail to your home
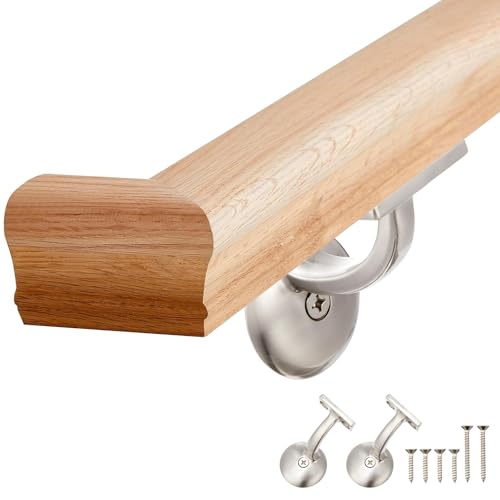
Package Includes: our red oak handrail kit includes not just a red oak stair handrail, but also two wall brackets accompanied by matching screws; This simplifies installation and ensures you can easily add a safe, stable handrail to your home
Complete Assembly With Final Fastening and Safety Check
Since you’ve got the railings and ladder done, you’re likely wondering, “What’s left besides putting on the mattress?” Now you’re at the critical final stretch where everything gets locked down for good. You’ll finish assembling the bed on its carton to protect your floor.
Start your quality verification by tightening every screw and bolt. Use your tool selection—likely a screwdriver and wrench—to snug them without crushing the wood. Anchor the frame to wall studs with four strong brackets. Then, screw every bed slat securely to its supports, leaving a 2-inch gap at the foot for grasping. For easier reassembly in the future, consider labeling hardware as you complete the final fastening. Essential Repair and Maintenance Tips(/stabilize-your-loft-bed) can prevent future wobbles by reinforcing joints and ensuring the frame is square.
Perform your final safety check. Confirm the upper bunk guardrail stands 5 inches taller than the mattress. Block any dangerous openings and prohibit jumping. Now you can add the mattress.